
This page outlines the process used for creating a V-carved sign incorporating a company logo. The subject logo appears above. It’s both best and easiest to use a vector image file as the starting point, however, bitmapped images can be used. A bitmapped image generally will require more detail editing to correct errors made in the image tracing software.
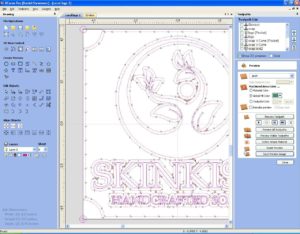
The above image depicts the logo as it appears in the V-Carve Pro software. Toolpaths generated using the software are shown in this screen captured image.

Here I show the rendered image of the finished sign. It took a good deal of experimentation to find the right background texture parameters that yielded an acceptable boundary between the raised text and background regions. Being able to play around with the settings in the software to get this right was a great time saver in comparison to doing this experimenting on the CNC.
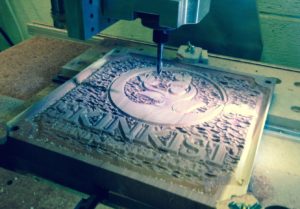
Here’s the piece on the CNC router getting machined. Its worth noting the presence of 1/2″ diameter reference holes at each corner of the work. I use a touch probe and software from crafty CNC to find the hole centers. Using the coordinates of the hole in the CAM environment, I’m then able to jog the CNC to the “zero” position of the work if it was lost for any reason, such as stopping the work for the day.
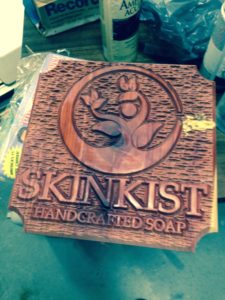
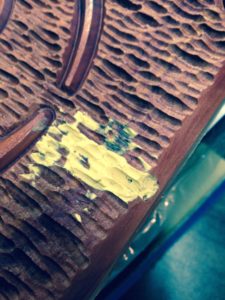
Here’s the sign with the machining completed. The wood is a panel made from eastern red cedar. On the right hand edge of the sign, the light tan area is where I made a machine mistake that was repaired with wood putty. After the putty set, I was able to redo the texture for the affected area. A closeup of the area appears below.
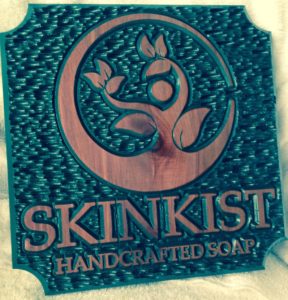
Here’s a picture of the completed sign after painting sanding and varnishing.
It’s size is 19″ X 19″